 |
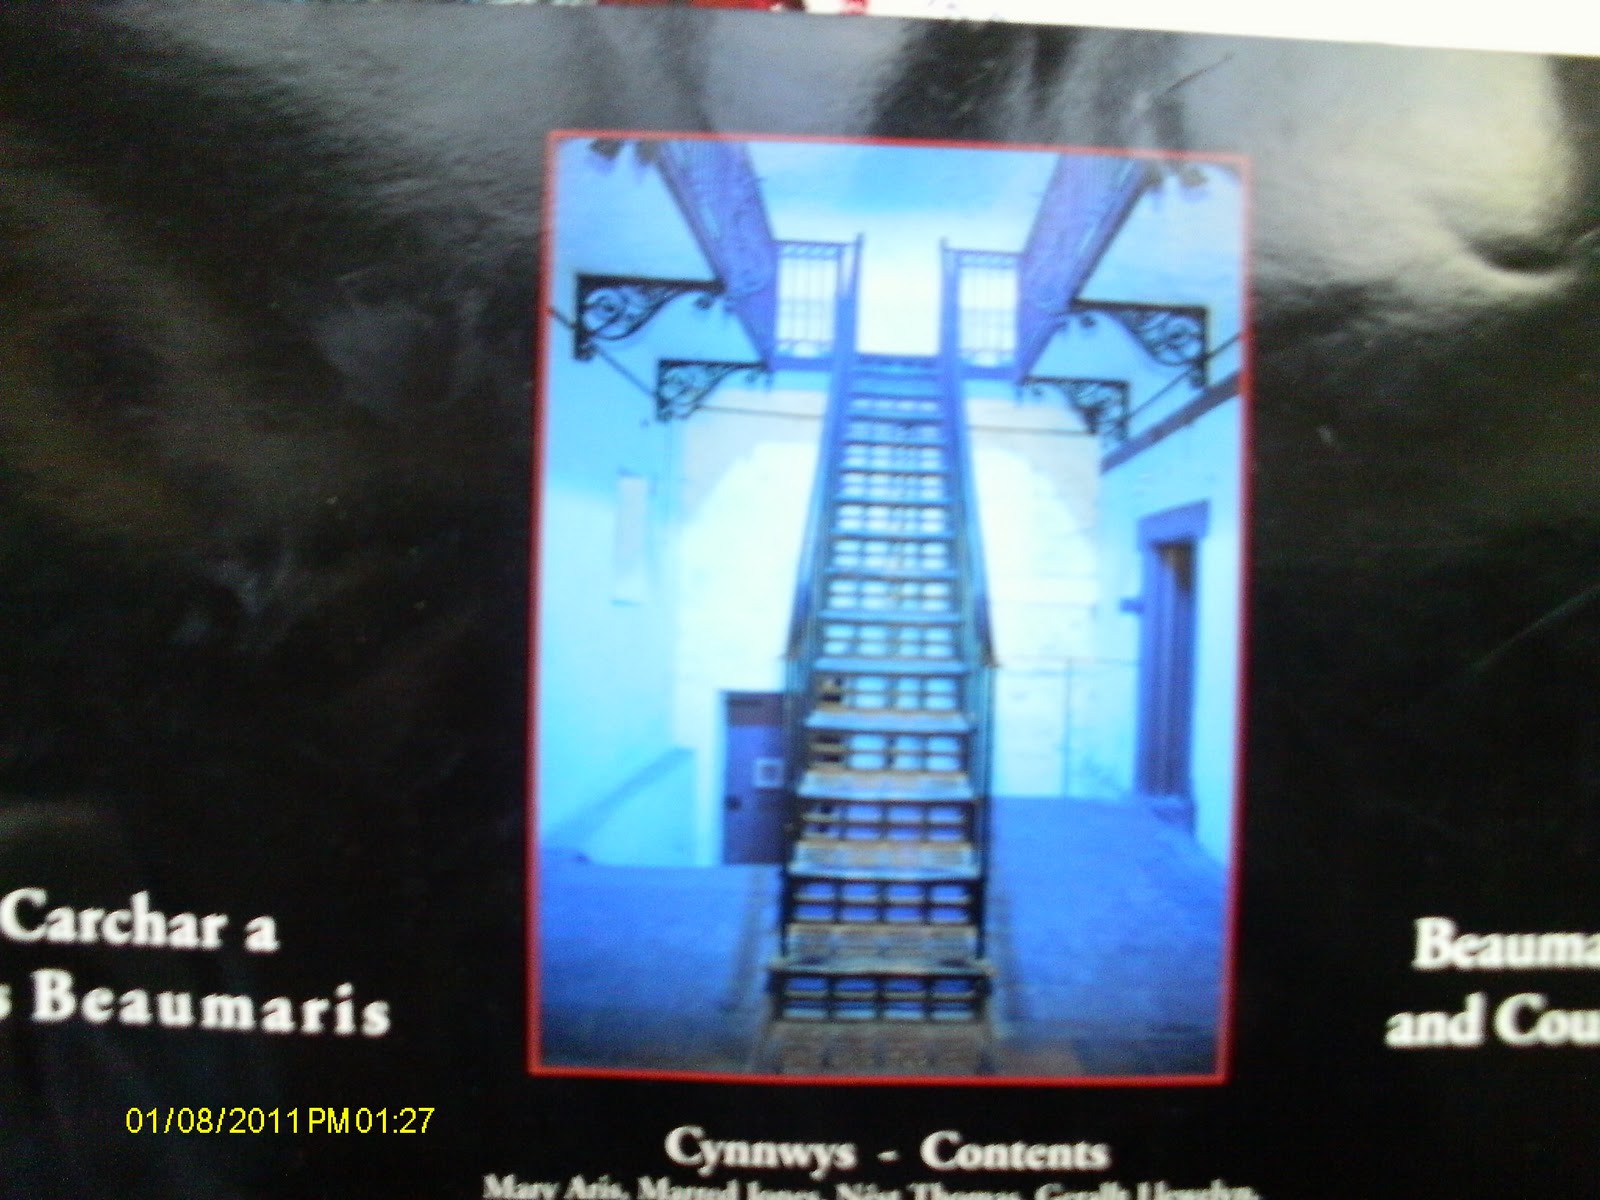
| This is a photocopy of the guide book I used as reference. It was cropped in photostudio. |
 |
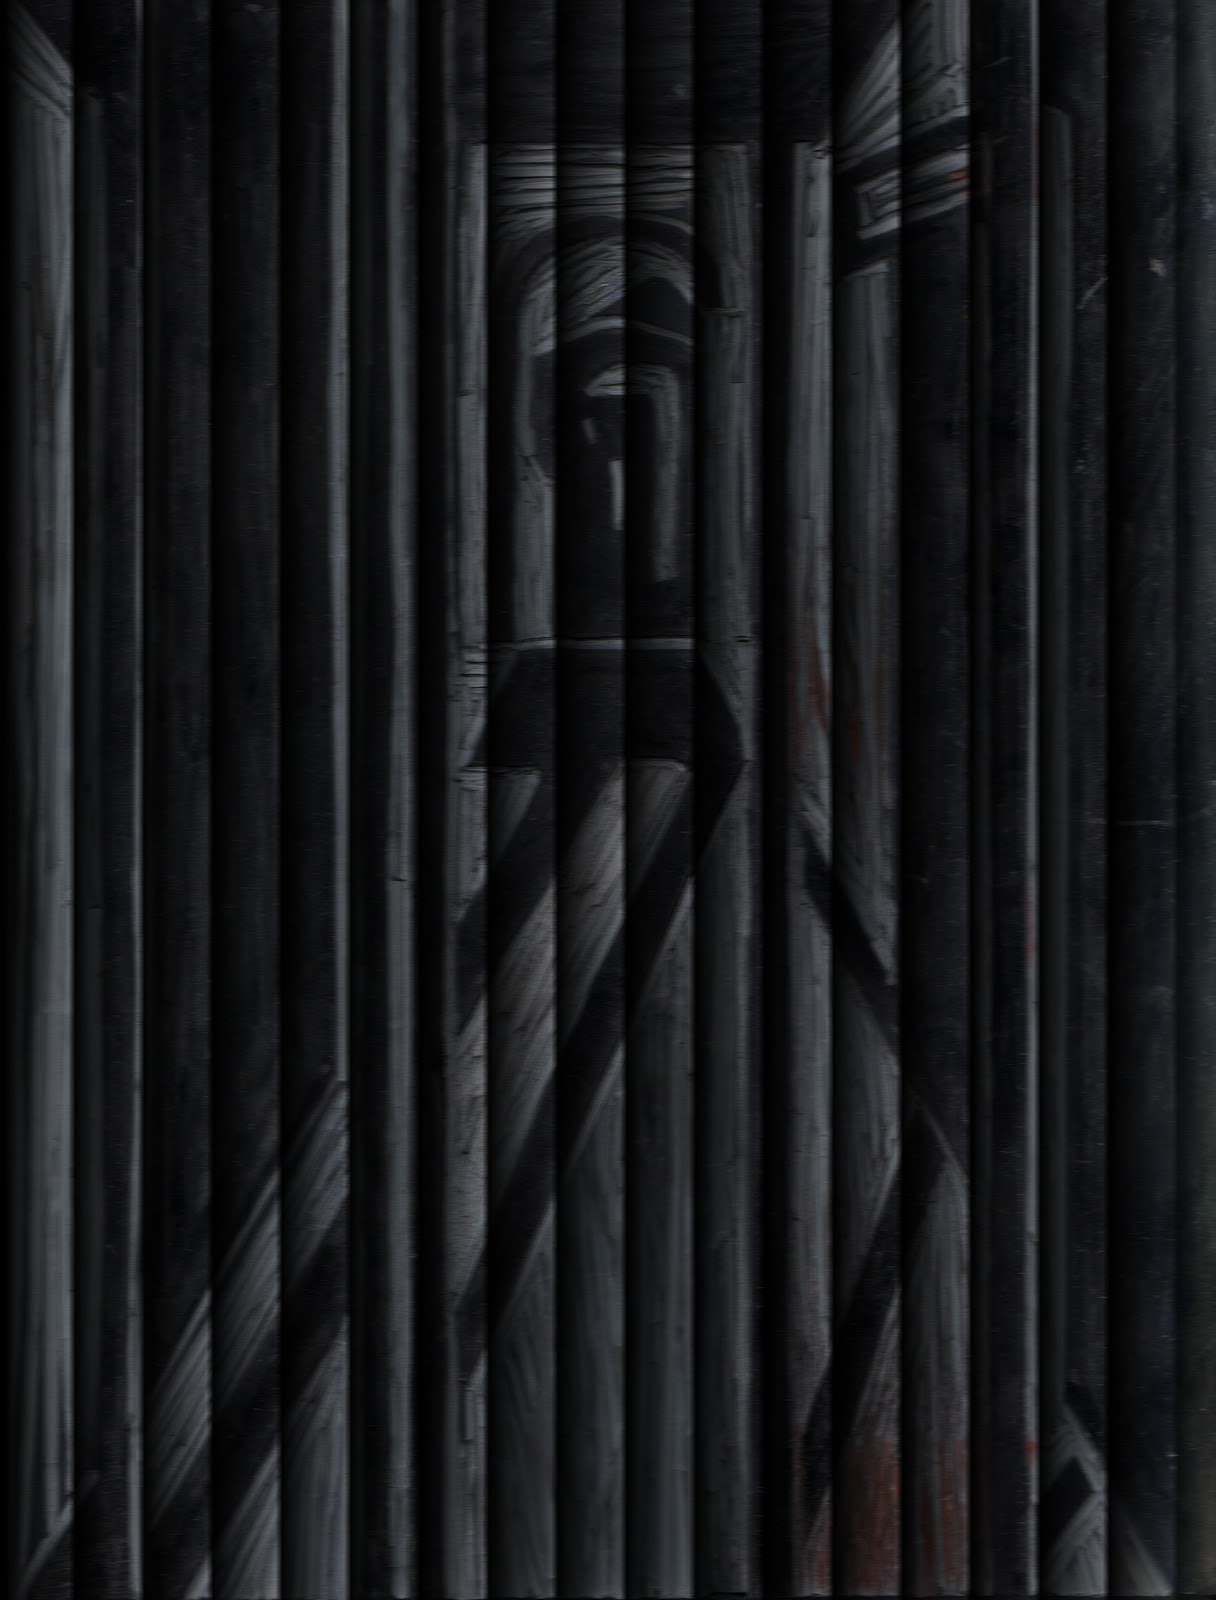
| Image photographed from guide book. Red hues increased and black sharpened. |
These are the two images that I used for the final piece. They unfortunately were the only two the web builder I was using would allow me to retrieve (even though I tried changing the document type!)
I used the web builder's fade tool to merge the 2 images together and then used the burnt edges tool on the black and white image to try and make it look less obvious that it's two images, one on top of the other. (The black and white image uploaded smaller than the other image and I didn't have the skills or will to sort it.)
I've not enjoyed this project at all. All the technical problems I've had have just made it harder than it should've been. I feel like I've wasted however many weeks to then only be able to produce something I don't rate nor like, that isn't anything at all like I wanted and that only took a few minutes to 'knock' together because it's so rubbish!
Evaluation
Evaluation
I have used obs studies and prints from a lino tile to help me decide on the final image. I explored several image references and tried them in different media: printing ink, charcoal, pencil and acrylic.
Possible safety issues included: using lino cutting tools, printing press and electrical equipment and accidents were avoided by following and abiding by tutor instruction and college rules and using common sense.
Using an Image editing package has been the most successful technique - the package gives more scope for experimentation, particularly when a specific effect is required e.g. fading one image into another. I feel the lino tile samples work better after scanning them into the pc and digitally manipulating them, however, I don’t think they are appropriate for this brief or my end project which needed to be more eerie. Those samples were too colourful and too ‘nice’ - ‘friendly’ even.
My main influence, primary source wise, was the actual lino tile itself. After scanning it into the computer I was able to create images which I felt were more in tune with how I imagined the final piece to be. They were stronger than previous samples. I eventually used a photograph which I’d lightly manipulated digitally and then used it with another image photocopied from the guide book I was using as a secondary source. They are both the same image but when faded together created something more like what I was thinking.
I played with different samples using a combination of tools on GIMP Image Editor and Photostudio. Tools used include:
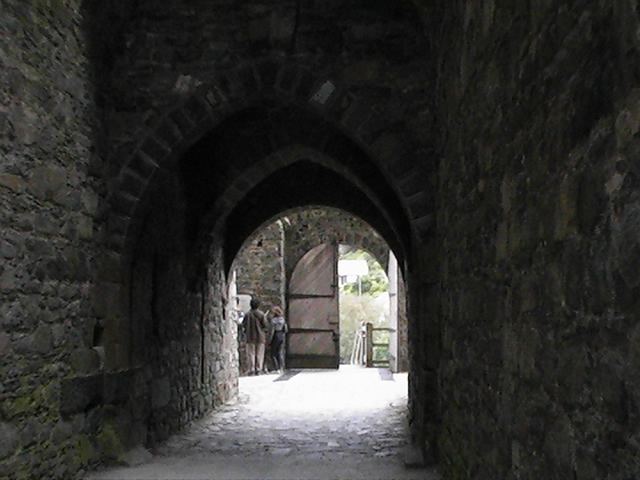
I didn’t want to go down the whole route of “Ooooo, come here for a nice weekend away”, I wanted to promote my destination as a place for people with an interest in the paranormal. I have a personal interest as I’ve had experiences in two of the sites featured in the promo and have heard other people have experienced something similar - particularly connected with the chapel at Beaumaris Castle. There’s a corridor that leads off it and during one visit I suddenly wasn’t in the 20th century anymore. (This happened in the 1990’s) When I looked down at myself I was in a full length skirt and there were old fashioned sconces on the wall where the bulbs had been. I had a feeling I was being chased and that if I could get to the end of the corridor I’d be safe… On my next visit to Beaumaris I had another experience in the courthouse…. I was on trial! And I was found guilty!
I don’t know what that was all about; if I was picking up on something that happened. I now, through researching stuff for this project, know that an innocent (according to her diary) woman was tried for theft and sent to Australia in the 1840’s….. but it has been suggested that not all cases were officially reported or recorded.
If I had to do the project again I wouldn’t chose something so personal. I would also make sure that I had the tools there to create exactly what I wanted - obviously the free web creator that I’ve used has limitations, unless you pay. It’s not how I wanted the final design to be by any stretch of the imagination - it‘s rubbish! I also wouldn’t step so far out of my skill and comfort zones.
Possible safety issues included: using lino cutting tools, printing press and electrical equipment and accidents were avoided by following and abiding by tutor instruction and college rules and using common sense.
- Using a bench hook when lino cutting and cutting away from myself
- Not setting up easels in front of emergency exits
- Maintaining basic tidiness to reduce slip and trip hazards
- Not having drinks near computers
- Being aware of risks when using and adjusting IT chairs
Using an Image editing package has been the most successful technique - the package gives more scope for experimentation, particularly when a specific effect is required e.g. fading one image into another. I feel the lino tile samples work better after scanning them into the pc and digitally manipulating them, however, I don’t think they are appropriate for this brief or my end project which needed to be more eerie. Those samples were too colourful and too ‘nice’ - ‘friendly’ even.
My main influence, primary source wise, was the actual lino tile itself. After scanning it into the computer I was able to create images which I felt were more in tune with how I imagined the final piece to be. They were stronger than previous samples. I eventually used a photograph which I’d lightly manipulated digitally and then used it with another image photocopied from the guide book I was using as a secondary source. They are both the same image but when faded together created something more like what I was thinking.
I played with different samples using a combination of tools on GIMP Image Editor and Photostudio. Tools used include:
- Crop
- Cut
- Scale
- Move
- Colour tools
- Fade and merge
- Opacity
- Edges - blurring and burnt
- Effects - frost, blinds, charcoal and lighting
- Magic wand
I didn’t want to go down the whole route of “Ooooo, come here for a nice weekend away”, I wanted to promote my destination as a place for people with an interest in the paranormal. I have a personal interest as I’ve had experiences in two of the sites featured in the promo and have heard other people have experienced something similar - particularly connected with the chapel at Beaumaris Castle. There’s a corridor that leads off it and during one visit I suddenly wasn’t in the 20th century anymore. (This happened in the 1990’s) When I looked down at myself I was in a full length skirt and there were old fashioned sconces on the wall where the bulbs had been. I had a feeling I was being chased and that if I could get to the end of the corridor I’d be safe… On my next visit to Beaumaris I had another experience in the courthouse…. I was on trial! And I was found guilty!
I don’t know what that was all about; if I was picking up on something that happened. I now, through researching stuff for this project, know that an innocent (according to her diary) woman was tried for theft and sent to Australia in the 1840’s….. but it has been suggested that not all cases were officially reported or recorded.
If I had to do the project again I wouldn’t chose something so personal. I would also make sure that I had the tools there to create exactly what I wanted - obviously the free web creator that I’ve used has limitations, unless you pay. It’s not how I wanted the final design to be by any stretch of the imagination - it‘s rubbish! I also wouldn’t step so far out of my skill and comfort zones.


